

Protecting, Fixing and Installation
Choosing between bolt-down (surface mounted) and dig-in (root fixed) bollards comes down to three things: what you’re protecting, where you’re fixing them, and how you want to install and maintain them.
This guide breaks down the differences, pros and cons, typical use cases, installation considerations, costs, and compliance points, so you can specify with confidence.
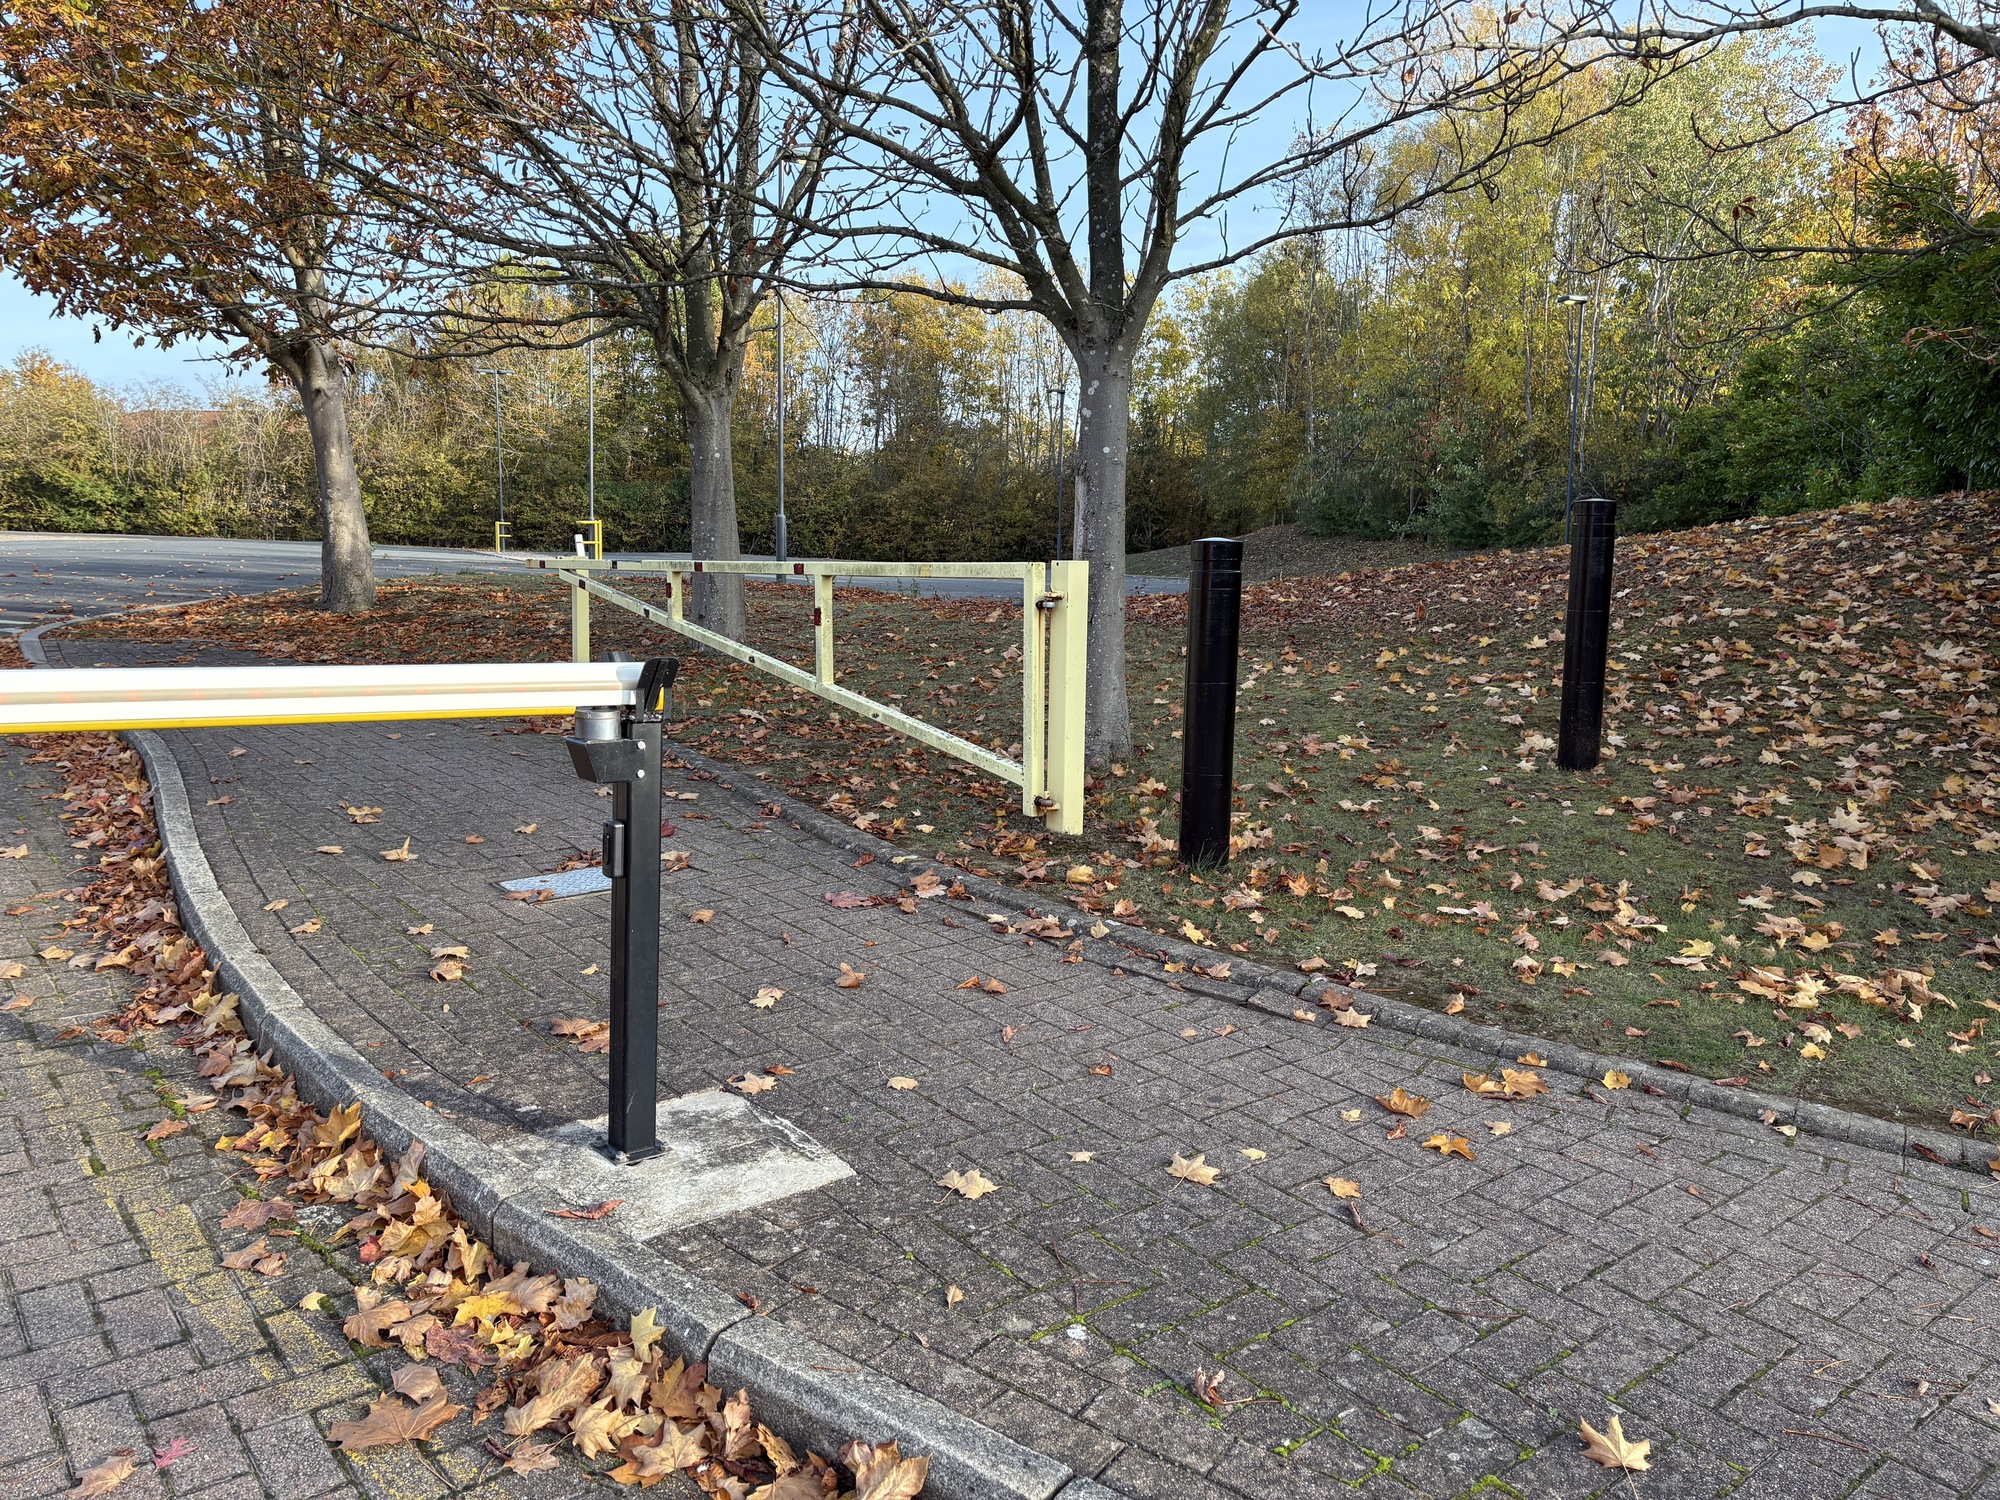
When to choose bolt-down bollards
Pick bolt-down when you have:
- A sound concrete surface already in place (e.g., 150–200 mm thick slab, well-reinforced and crack-free).
- Tight programmes: you need rapid install with minimal dust/noise and no wet trades.
- Future flexibility: layouts may change, unbolt and move without breaking ground.
- Limited services risk: you don’t want to dig near utilities in busy urban pavements.
Common applications
- Multi-storey car park decks and ramps
- Distribution centres and warehouses (indoor and outdoor slabs)
- Retail frontages where underground services are dense
- Temporary schemes or phased developments
Pros
- Fastest install, minimal mess and reinstatement
- Predictable cost; no curing time
- Easy replacement if a unit is damaged
Cons
- Performance relies on the quality of the slab and anchors
- Base plates and bolts remain visible (can be a trip/appearance consideration)
- Lower ultimate resistance than deep-rooted posts with like-for-like steel sections
When to choose dig-in bollards
Choose dig-in when you need:
- Maximum passive resistance from deeper embedment and a concrete footing.
- Installation into soft ground (verges, planters) or where slabs don’t exist.
- A cleaner aesthetic at ground level without base plates.
- Permanent layouts where long-term durability is prioritised over ease of removal.
Common applications
- Pavements and high streets
- Perimeter protection and boundary delineation
- Parks, campuses, leisure schemes
- New build sites where foundations can be planned
Pros
- Typically better impact performance vs. an equivalent bolt-down on a thin slab
- Neater look at the surface; no exposed plates
- Less dependent on an existing slab’s integrity
Cons
- Slower and messier to install; requires excavation and concrete
- Requires utility checks and potential permits
- Harder to remove or relocate later
Performance & safety considerations
Impact resistance & hostile vehicle mitigation (HVM)
- For serious vehicle-stopping capability, you should specify tested and rated systems (e.g., IWA/PAS-rated bollards). Many of these are root fixed with engineered foundations.
- Non-rated bollards still offer deterrence and low-speed protection (nudges, parking bumps), but don’t assume vehicle-stopping performance unless it’s explicitly tested by the manufacturer.
Substrate capacity
- Bolt-down relies on the compressive and pull-out strength of the slab and fixings. Hairline cracks, delamination, or insufficient thickness will degrade performance.
- Dig-in relies on embedment depth, footing size, and surrounding soil. Poor backfill or undersized foundations reduce performance.
Corrosion & environment
- Galvanised steel: best all-round durability, economical.
- Powder-coated steel: adds colour and extra protection; specify correct preparation and coating system for exterior use.
- Stainless steel: premium appearance and corrosion resistance; specify grades suited to the environment (e.g., coastal).
- For dig-in, protect below-ground sections (e.g., extended galvanising) and consider drainage to avoid water sitting around the root.
Accessibility & spacing
- Maintain clear widths for wheelchairs, pushchairs, and mobility devices.
- Avoid creating pinch points; keep consistent centres and straight lines for visual guidance.
Visibility
- Contrast bands or sleeves help sight-impaired users and drivers.
- Consider retroreflective elements near traffic.
Installation essentials
Bolt-down (surface mounted)
- Check slab: confirm thickness, reinforcement, and condition; scan for rebar/services if needed.
- Template & alignment: use a drilling template for consistent centres; mark straight lines with chalk/laser.
- Anchors: select anchors suited to concrete strength and the applied loads (shear, tension, pry).
- Sealing: seal around fixings to keep water out of drilled holes; use anti-seize on stainless fixings.
- Torque: tighten to manufacturer torque values; recheck after 24–48 hours if advised.
- Finish: fit caps, cover plates, or bolt shrouds for a clean look and to reduce tampering.
Dig-in (root fixed)
- Services check: CAT scan/records before any digging; confirm permits where required.
- Footing size: match hole diameter and depth to bollard height, section, and expected loads; bell out bases where specified.
- Concrete: use appropriate mix; vibrate/tamp to remove voids; ensure plumb with temporary bracing.
- Cover level: set consistent finished heights across a run.
- Cure time: respect curing before applying loads or vehicle strikes.
- Drainage: add pea shingle or weep holes where water pooling is likely.
Cost & programme
- Bolt-down: lowest install cost per unit where slab quality is known; no curing time, so areas can reopen quickly.
- Dig-in: higher labour and material cost (excavation, muck-away, concrete) and programme time (curing). Economies improve on larger runs installed in one mobilisation.
Aesthetics & vandal resistance
- Bolt-down units can use decorative base shrouds to conceal plates and bolts.
- Root-fixed units typically look sleeker at ground level.
- For anti-tamper: use shear nuts, security fixings, or welded-on caps; specify wall thicknesses and materials appropriate for the risk profile.
Common mistakes to avoid
- Undersized anchors on thin or low-grade slabs for bolt-down installations.
- Shallow embedment or small footings on dig-in units, leading to wobble or early failure.
- Skipping utility surveys, causing delays or dangerous strikes.
- Ignoring accessibility clearances, creating barriers for users.
- Inadequate corrosion protection below ground or at cut/penetration points.
Decision checklist
Answer these and the choice usually becomes clear:
1: What’s the substrate today?
- Good concrete slab → bolt-down is efficient.
- Soft ground or unknown slab → dig-in is safer.
2: What level of impact do you need?
- Deter/guide at low speeds → either, but ensure proper fixings or footing.
- Vehicle-stopping/HVM → typically tested root-fixed systems with engineered foundations.
3: How permanent is the layout?
- Likely to change → bolt-down.
- Long-term/permanent → dig-in.
4: What’s your programme?
- Need same-day turnover → bolt-down.
- Can allow for curing and reinstatement → dig-in.
5: What’s the look you want?
- Clean, flush finish → dig-in.
- Happy with shrouded plates → bolt-down.
Example Bollard specifications (starting points)
Always finalise with site-specific engineering and the manufacturer’s data.
Bolt-down steel bollard
- Construction: heavy-gauge steel, hot-dip galvanised; optional powder-coat.
- Base: circular/square base plate with four mechanical anchors matched to slab and loading.
- Features: reflective banding; tamper-resistant fixings; optional bolt shroud.
- Substrate: sound concrete slab (confirm thickness/strength).
Dig-in steel bollard
- Construction: heavy-gauge steel, hot-dip galvanised; optional powder-coat; below-ground protection.
- Foundation: concrete footing sized per design; minimum embedment depth per manufacturer.
- Features: reflective banding; anti-tamper cap; drainage allowance.
- Ground: soil/hardcore with excavated pocket; services clearance confirmed.
Stainless Steel Bollard Options
- Grade matched to environment (e.g., coastal vs urban).
- Brushed/satin finish; avoid contact with mild steel on site; clean after install.
Bolt-Down vs Dig-In Bollards FAQs
Q: Do bolt-down bollards work on tarmac/asphalt?
A: Not without an engineered concrete pad beneath. Anchors need concrete strength to resist pull-out and shear.
Q: Can I retrofit lighting to either type?
A: Possibly. Plan for power routes and maintenance access; with dig-in units you’ll need ducts; with bolt-down, consider base shrouds to conceal cabling.
Q: What if I need removable access?
A: Consider locking removable cores or socketed sleeves (root-fixed sleeves with lift-out posts) in high-access areas.
Q: How far apart should bollards be?
A: Commonly 1.2–1.5 m centres in pedestrian areas, maintaining accessibility widths; adjust to site geometry and vehicle risk.


